Scrogging is a process that involves putting a set of plants together and ensuring that their arms are fully stretched so that they don’t shade each other out or grow on top of one another.
Nonetheless, you must remember that every plant is different and that there is no specific measurement of how far apart they should be. Scrogging enables you to study the plant and fine-tune it into a healthy plant.
Why ScrOG Weed
When left to its device, weed can grow taller and wider than is required. Scroggins aims at reducing the upper branches’ height and increasing the lower branches’ height, eventually stretching them evenly across the plane.

By placing the screen above the plant, successful growers can weave branches through the mesh to enable plants to grow and mature. Further, the grower can attain a horizontal canopy by redirecting the branches and running them across the screen.
That said what are the advantages of Scrogging?
- Light Exposure – Scrogging ensures that the plant is evenly exposed to light. Untrained plants feature one cola that grows taller than the rest of the plant. This means that the light rig must be placed above the main cola.
- Yield – Scrogging ensures that each bud receives enough sunlight; it maximizes the photosynthetic potential, leading to an increase in resin production and size. Scroggins also transforms the central cola and the main stem into a multitude.
- Aeration – Scrogging ensures that the plant receives sufficient airflow above and inside the canopy. You can also add a fan to enhance the airflow and reduce the risk of spreading fungal pathogens.
- Maximize space -Many growers obtain better yields from one scragged plant in a small space than with many untrained plants. Home growers use the Scrogging technique to maximize yields.
When to ScrOG Weed
You are required to start guiding your plants as soon as they touch the screen. We recommend that you place the screen 20 cm above the plant so that the rate of their growth will help you determine when to start Scroggins.
You can start the tucking as soon as the apex begins to grow through the screen. Alternatively, you can wait for the tip to grow 5cm above the screen, tuck the shoot under the screen, and direct them through the square way. Tucking lays a foundation for the Scroggins process. Hence it would be best if you were mindful of the direction you intend the branch to grow.
This process should continue during the vegetative phase. However, you can switch to a 12/12 light cycle to stimulate the flowering process, especially when the screen is filled.
The tucking and weaving period should continue for 2 to 3 weeks as the plant continues to stretch. The increase in growth enables you to fill the screen before the plants fully enter the flowering stage and slow down their growth.
Even so, there are periods when you should avoid weaving and tucking your plants. For instance, you should avoid tucking your plants too early. It is very tempting to rush and tuck the plants. However, they can only grow well when they are above the screen. If you start training early, your plants will require extra work. You may eventually run out of space in your room.
How to ScrOG Weed
Though scrog setups look complex, the technique requires little attention. Even with limited growing experience, you can use the technique and produce great results. Just ensure that you follow the below guideline, and you will achieve great results.
Step 1: Identify the right strains
Growers are expected to tailor strains according to their preferences, climate, and spatial limitations. Some genetics are compatible with the ScrOG techniques, while others are not. Below are the best characteristics for scragging:
- Stretchy Sativa: Most of the cannabis Sativa strains are skinny, stretchy, and tall. As a result, growers can weave their branches without difficulty to form a ScrOG. You can also select bushier and smaller Indicas to maximize your space.
- Strain Matching: Though growers can cultivate different strains in the same setup, it is important to select strains that can reach a similar height to minimize the amount of labor that is required.
Step 2: Select the right pots
To maximize growth, you need to select the correct pot. This variable shifts depending on the number of plants you intend to incorporate in your ScrOG.
Below are some of the factors to be considered:
- Multiple Plants: If you are planning to grow several plants in a small space, ensure that you consider the spacing. To maximize the spacing, you will require a small pot, for example, an 11-liter pot. This pot will fully utilize the space and optimize plant growth.
- Single Plants: You can select a bigger pot size when using a single plant. For instance, a 25l pot will provide enough room for the plant to establish a large canopy and a substantial root system.
- Fabric Pots: As we mentioned earlier, the scroggin technique improves the aeration of the canopy- using a fabric pot further increases the aeration of the growing medium. This results in an increased flow of oxygen and moisture retention.
Step 3: Build a ScrOG screen
Building a screen is very easy. If you have ever built flat-pack furniture or hung a picture frame on the wall, then you are very qualified.
However, before you start the construction process, ensure that you have the following equipment and resources.
- Size: Ensure that you are well aware of the number of plants you need to grow and their sizes. Remember that your canopy needs to be even; an oversized or undersized screen will cause problems. You can overshoot a little if you are unsure about the measurements. This is because an oversized screen can only cause a few problems compared to an undersized one.
- Screen: Use a hemp cord or screen to do a perfect job. Marijuana branches can easily stick to a string made of coarse texture. Further, you can easily dispose of the material after you are done.
- Frame: Build a square frame using timber. The timber should only be slightly smaller than the growing space. Then, cut evenly sized legs, and attach them to the frame using screws. Instead, you can create the design using PVC piping. Then screw the eyehooks on the frame with a 6 cm difference in between them.
Step 4: Space the plants appropriately
You can easily grow different strains in a ScrOG. For example, you can grow high-CBD and high-THC varieties together and match them based on the terpene profiles.
Nonetheless, it is important to ensure that the plants are correctly spaced. This will minimize the formation of mold and increase the yield.
Now, you are already wondering how many cannabis plants can grow per square meter. Well, you can squeeze small or medium-sized plants in a pot size of 11 liters.
Step 5: Scrogging after the vegetative stage
After the seedling stage, the plant enters the vegetative phase. You will be required to tick off some of the tasks on your checklist to ensure that the plants are compatible with the ScrOG method. Some of the tasks include:
Topping
As soon as the plant develops 5 nodes, take a pair of scissors and snip the stem above the intersection. Topping enables plants to divert their growth into several stems instead of a single plant. This method encourages lateral growth, which is suitable for the scrogging method.
Setup
You should position the screen 20 to 40 cm above the growing medium. Also, position your lights in a way that will ensure the screen is well exposed to light.
Weaving
Unlike runner hops, cannabis branches do not behave like vines. You are required to weave them across the screen manually. While weaving, you must fill each square with a branch to avoid overcrowding. Nonetheless, be gentle and effective. If you feel like the branch is not following a particular direction, don’t force it, or you will break it. Always direct branches in different directions to properly fill the screen and prevent crowding. Weaving is done throughout the flowering stage until the screen is filled. To further secure the branches, you can use soft garden ties.
Pruning
This involves removing the branches from the topping point. This will enable the plant to redirect all the energy to the canopy. The branches require their supply of water and nutrients. You should remove them from the plant to ensure the resources are freed.
Maintenance
Cannabis plants often get stressed during the scrogging process. To prevent them from dying, water them during the weaving session. However, don’t overwater the plant. Only water the plant when 3- 4 cm of the soil is dry. Also, ensure that your plants are fed with favorable nutrients to avoid deficiencies.
How to enhance ScrOG with other cannabis techniques
When used in isolation ScrOG produces great results. However, combining it with other techniques can lead to better results. Below are some of the most effective techniques that can be combined with ScrOG.
Low-Stress training
This process involves bending and tying down the branches to influence the shape of the plant. Low–stress training can stress the plant a little. Hence the plant requires some time to recover after it has been subjected to the process.
Low-stress training can be used in different ways during Scrogging. First, you can tie down the tip of the plant and position the main stem in a parallel position to the soil. This way, the side branches will shoot upwards and form a productive canopy.
On the other hand, you can use LST to tie down the primary branches and form an X shape. This will enable your plants to grow lateral and fill the screen.
Lollipopping
This refers to a form of defoliation that requires you to remove the bud sites and lower foliage from the branches. During this process, aeration is increased, and much of the energy is diverted to bigger and more productive buds in the canopy.
We recommend this technique for the ScrOG method because it is beneficial to the buds that grow on the screen, and it limits the growth of inferior buds on the lower section of the branches. Nonetheless, the technique should only be conducted using clean and sharp scissors during the vegetative stage. It can also be combined with main-lining and LST.
Main-Lining
Main- Lining involves tying and topping your plants to form a canopy that is evenly loaded with sized buds. The main-lining is commonly used together with scrog to form a well-distributed, open canopy that slots into the mesh screen.
To conduct the process you should:
- Top every plant at the third node and create two different stems. Then, you can remove any growth below this section and direct the energy to the remaining stems.
- Use soft garden ties to position the stems at a correct angle with the soil.
- After your plant produces some new growth, you can top the main shoots to enable you to double the number of the major stems.
- Then tie down the new stems and remove any additional growth. You will notice a perfect symmetrical canopy that will be formed on the sides of the plant.
- Continue topping both sides. We recommend that you top each side five times to create 32 shoots. The shoots will be used for the scrog technique.
Super Cropping
When incorporating this technique, make sure that your branches are easy and pliable to weave using the super cropping process. Super cropping involves pinching and squeezing the branches to bend them to a stage where they are likely to snap. This enables the plant to increase light penetration and also makes the plant compatible with ScrOG.
Super cropping seeks to damage the plant’s inner tissue and hence manipulate the stems without creating a wound on the outside. Nonetheless, super cropping can easily damage the plant. We recommend that you conduct the technique during the vegetative stage before the plant reaches the screen. Below are some of the steps to follow as you super-crop your plant:
- Identify the branches you want to train. During super cropping, you should select the section that looks old. Where the plant tissue feels bendy and pliable.
- After you have selected the branch, grasp it between your forefinger and thumb and squeeze it gently. You can roll the tissue between your thumb and forefinger for 10 seconds as the inside of the branch softens.
- Finally, bend the branch toward the direction you want it to head. After the branch has bent, you can bandage the branch with tape to prevent the outer structure from ripping off. Eventually, super cropping allows you to shape the plant and prime it to enter the screen later.
Which cannabis strain is suitable for ScrOG?
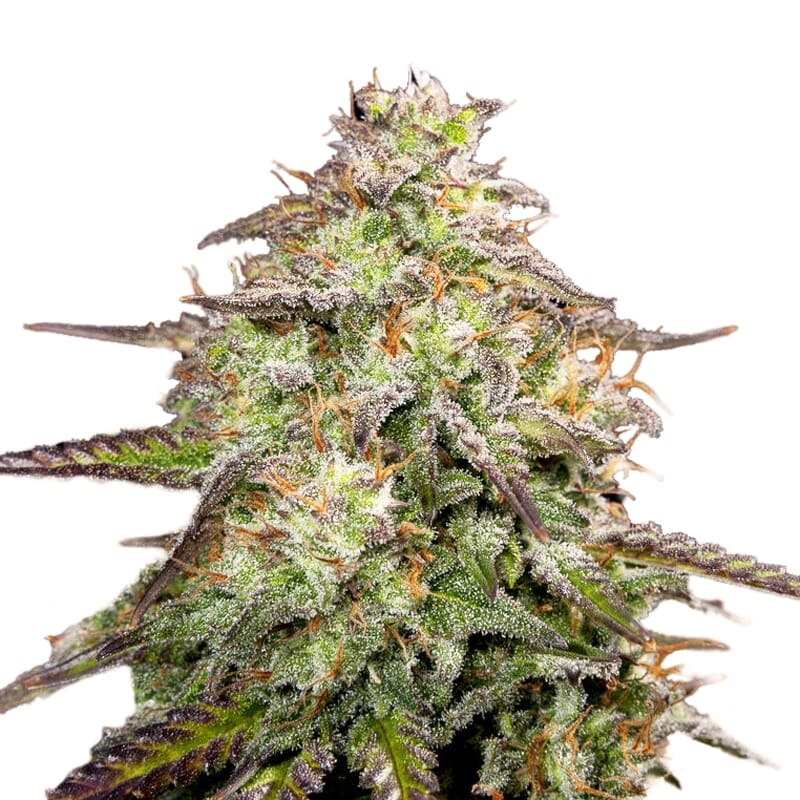
We have several strains that are suitable for scrog, but in this case, we will discuss the OG Kush strain. The OG Kush strain became a sought-after strain as soon as it was introduced to the United States of America. After a short period, it received similar appreciation in the global scene.
The fragrance, look, and potency of the plant are very thrilling. The plant has a special citrus note that predominates gentler sours and sweets. Further, it has an enjoyable aftertaste that lingers after the spliff is finished. The extracts of the plant have a nice flavor sensation. Moreover, the OG Kush strain gives you a strong effect that makes it good for therapeutic and recreational use.
In appearance, the plant consists of a healthy stretch between the nodes that make it suitable for the ScroG selection. The buds can reach their full potential by topping the plant severally and exchanging dominance in that area.
Scrogging also creates a carpet with enough distance between the nuggets to allow airflow and prevent shading. The OG Kush responds positively to training, producing even and dense flowers across the light footprint. The OG Kush plant delivers great results and is not very demanding.
Final thoughts
Scrogging is a technique that is commonly used to increase a cannabis plant’s harvest potential.
It is important to use heavy-yielding and high-quality seeds to achieve reliable results. Nonetheless, it is also important to recognize that your ability to control and optimize your grow room is crucial in achieving great results. If you can master the ScrOG technique, you will achieve exceptional results. Best of luck as you enjoy your scrog growth.