 By:
Edit 25
Mastering transplanting cannabis is a crucial step in ensuring vigorous growth and maximizing yield. Whether you’re moving seedlings from starter pots to larger containers or hardening off young plants for outdoor beds, timing and technique can make all the difference. In this guide, you’ll learn how to recognize the ideal moment to transplant, prepare your plants and soil for a seamless transition, and implement best practices that minimize stress and root shock. By following these expert tips on transplanting cannabis, you’ll set the stage for healthy roots, robust foliage, and a thriving cannabis garden.
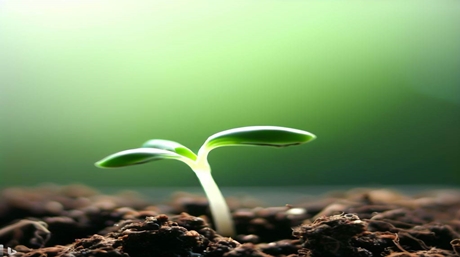
Transplanting cannabis refers to the process of moving young cannabis seedlings from their initial, smaller containers into larger pots or directly into the ground. This step allows roots more room to grow, supports increased nutrient uptake, and promotes stronger, healthier plants. Proper transplanting reduces root-bound issues—where roots circle the pot and choke each other—and ensures optimal aeration and drainage in the new medium.
Successful transplanting cannabis hinges on gentle handling: disturbing the root ball as little as possible and planting at the correct depth so the first set of true leaves sits just above the soil line. With the right preparation and timing, transplanting can give your cannabis plants the vital boost they need during the critical vegetative stage.
Knowing when to tackle transplanting cannabis ensures you move seedlings at their peak vigor. Watch for these key indicators:
Choosing the right moment for transplanting cannabis depends on environmental conditions and plant readiness. Ideally, transplant when:
By aligning transplanting cannabis with optimal temperature and light, you ensure seedlings encounter minimal stress and quickly resume vigorous growth in their new home.

Select a pot at least twice the volume of the starter container, filled with high-quality potting mix or amended garden soil. Ensure good drainage by adding perlite or coarse sand. If transplanting outdoors, enrich the planting hole with compost and aged manure to provide a nutrient-rich buffer.
Water seedlings 1–2 hours before transplant to keep soil intact. Gently squeeze the sides of the pot and invert it, supporting the seedling at the base of the stem. Carefully ease out the root ball, avoiding tugging or shaking that can damage fine roots.
Place the seedling so its root crown sits just below the soil surface, then backfill and gently firm the soil around the stem. Water lightly to settle the soil and eliminate air pockets. Provide shade or reduced light intensity for 24 hours if moving outdoors. Monitor moisture daily, watering when the top 2 cm of soil feels dry, and avoid fertilizing for 3–5 days to let roots recover.
Enhance your transplanting cannabis success with these pro techniques:
Effective transplanting cannabis combines timely action, gentle handling, and thoughtful preparation. By recognizing seedling readiness, aligning with ideal environmental conditions, and employing best practices—from proper soil mix to advanced microbial and root stimulant applications—you can minimize stress and promote vigorous root and foliage development. Avoid common pitfalls like overwatering and inadequate hardening off, and leverage advanced tips to further boost transplant success. With these techniques, your cannabis seedlings will thrive in their new homes, setting the stage for robust vegetative growth and abundant flowering.
For an academic overview of seedling development and best transplanting practices, see the Penn State Extension article “Seed and Seedling Biology”: Penn State Extension – Seed and Seedling Biology.


Related Posts

When it comes to cannabis growing, the importance of high-quality cannabis seeds genetics cannot be overstated. The genetic makeup of your cannabis seeds plays a pivotal role in determining the overall quality, potency, and characteristics of your plants.

Concentrates that are made of cannabis come in many different varieties, but they all offer the same kind of effect – a final product that is very strong and easy to use. With concentrates, the diluents, such as water, are removed so that only a concentrated substance remains.

it combines the potent and flavorful benefits of parent marijuana strains Trainwreck and Hawaiian.